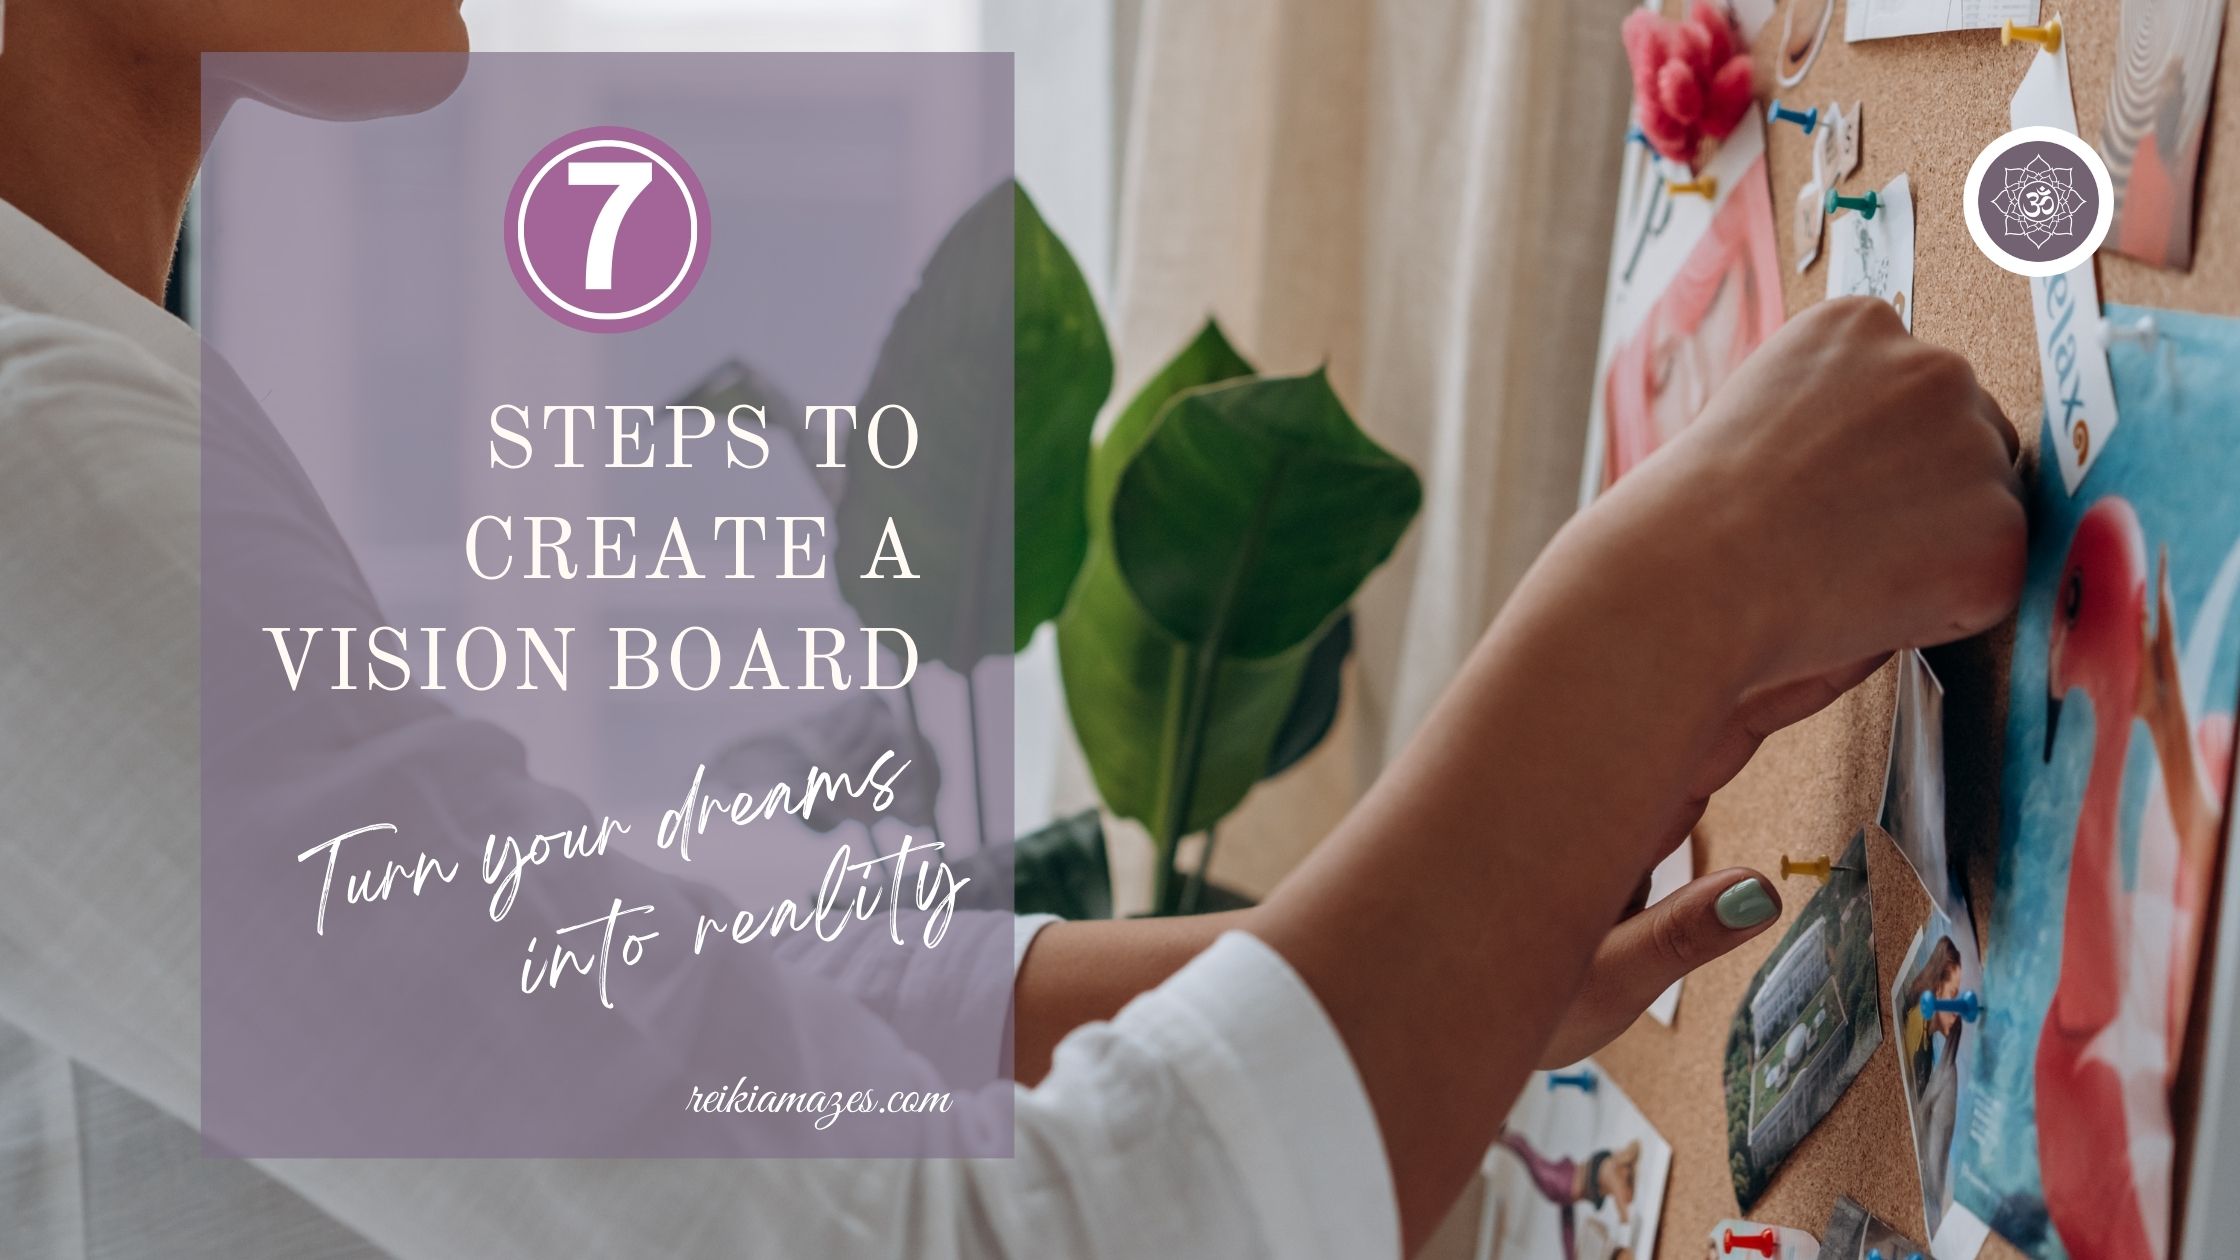
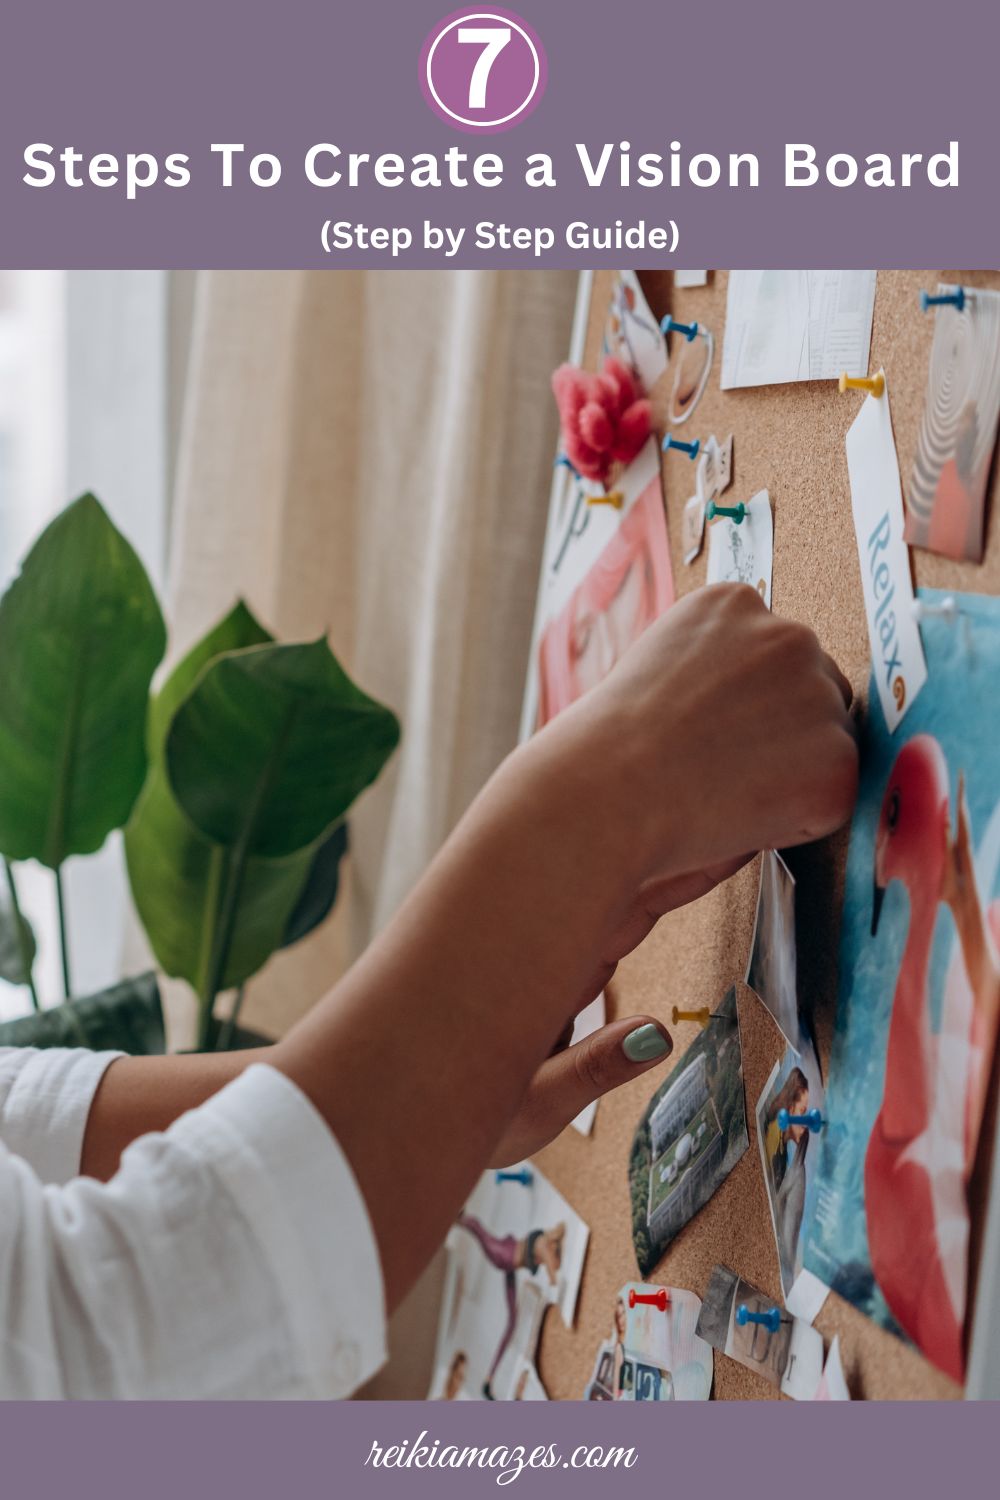
Are you ready to transform your dreams into tangible goals? Learning 7 steps to create a vision board is your first step toward manifesting the life you’ve always imagined. Vision boards are powerful tools that combine creativity with intention, helping you visualize and attract your desired future. In this guide, we’ll walk you through the process of creating a vision board that actually works.
7 Steps to Create a Vision Board: Your Ultimate Guide
Step 1: Define Your Core Life Areas
Before diving into the creative process, take time to reflect on the key areas of your life you want to focus on. Consider your career aspirations, relationships, personal growth, health goals, and financial dreams. This clarity will guide you in selecting meaningful images and affirmations that truly resonate with your desires.
Step 2: Gather Your Materials
To create an impactful vision board, you’ll need:
- A large poster board or cork board
- Magazines that align with your interests
- Scissors and glue
- Markers and decorative elements
- Personal photos or printed inspirational quotes
- Optional: fairy lights or other decorative elements
Step 3: Set the Perfect Atmosphere
Create a sacred space for this creative process. Choose a quiet time when you won’t be interrupted, play inspiring music, and perhaps light some candles. This ritual helps shift your mindset into a more intentional and focused state, making your vision board creation more meaningful.
Step 4: Select Your Visual Elements
Now comes the fun part! Browse through your magazines and start collecting images that speak to your goals. Look for pictures that evoke strong positive emotions and align with your dreams. Remember, your vision board should tell your story and represent your authentic desires.
Step 5: Organize Before You Glue
Before permanently attaching anything, lay out all your chosen elements on your board. Experiment with different arrangements until you find a layout that feels right. Consider creating specific sections for different life areas or letting the design flow more organically.
Step 6: Add Written Elements
Incorporate powerful words and phrases that reinforce your vision. These might include:
- Personal affirmations
- Goal statements
- Meaningful quotes
- Target dates or milestones
- Words that evoke your desired feelings
Step 7: Display and Activate Your Vision Board
Place your completed vision board where you’ll see it daily. The best locations are your bedroom wall, home office, or any space where you spend significant time. Take a few minutes each morning to connect with your board, visualizing your goals as if they’re already achieved.
Making Your Vision Board Work for You
Remember that a vision board is more than just a pretty collage – it’s a powerful manifestation tool. Regularly spend time with your board, allowing yourself to feel the emotions of achieving your dreams. Update it as your goals evolve, and celebrate when elements of your vision become reality.
Digital Vision Board Alternative
In today’s digital age, you might prefer creating a digital vision board using platforms like Canva or Pinterest. This option offers flexibility and easy updating, plus you can keep your vision board on your phone or computer for constant inspiration.
Recommended Read:
Ultimate Guide to Vision Boards: The Proven Science Behind Why It Actually Work
How To Make A Vision Board With Kids | Inspire Young Minds
7 Steps to Create a Vision Board That Turns Dreams Into Reality
Top 5 Mistakes To Avoid When Building Your Vision Board
10 Must-Have Tools for a Powerful Vision Board (Beginner’s Guide!)
Struggling to Manifest? These 5 Goal-Setting Hacks Will Fix Your Vision Board!
Your Vision Board is Missing THIS! 5 Mindfulness Tips for Manifestation Magic
Vision Boards & Science: 5 Shocking Truths That Prove They Work!
Eco-Friendly Vision Boards: A Green Approach to Manifestation
9 little-known manifestation secrets to supercharge your vision board
Vision Board Affirmations 101: How to Turn Words Into Manifestations
Conclusion & Your Action Plan
Creating a vision board is a transformative experience that helps bridge the gap between dreams and reality. By following these 7 steps to create a vision board, you’re not just crafting a beautiful piece of art – you’re designing your future. Remember, the key to success lies not just in creating your board, but in regularly connecting with it and taking inspired action toward your goals.
How will you design your future? Start creating your vision board today and watch as your dreams begin manifesting into reality.
Pin this guide for later and share it with friends who could use some inspiration in their lives! Don’t forget to follow us for more practical tips.
You may also like


You may also like
 To cleanse your aura with Reiki: find a quiet space, set a clear intention, acti...
![26 Reiki Points For Self Treatment – Refresh Yourself Everyday-[Updated]](https://reikiamazes.com/wp-content/uploads/./Feature-Image-Small.jpg) Scroll Down to Checkout the latest Free DownloadsReiki I - is the base or ...
Scroll Down to Checkout the latest Free DownloadsReiki I - is the base or ... TLDR:Dai Ko Myo is the most important symbol in Reiki. It is taught at the highe...
 (Updated: July, 2026)CHO KU REI is one of the most popular symbols in Reik...
 Have you ever felt like you are doing everything right , thinking positively, wo...
 Receive Free Reiki Healing Every Week | Enroll Now :root { --mauve: #a46597;...