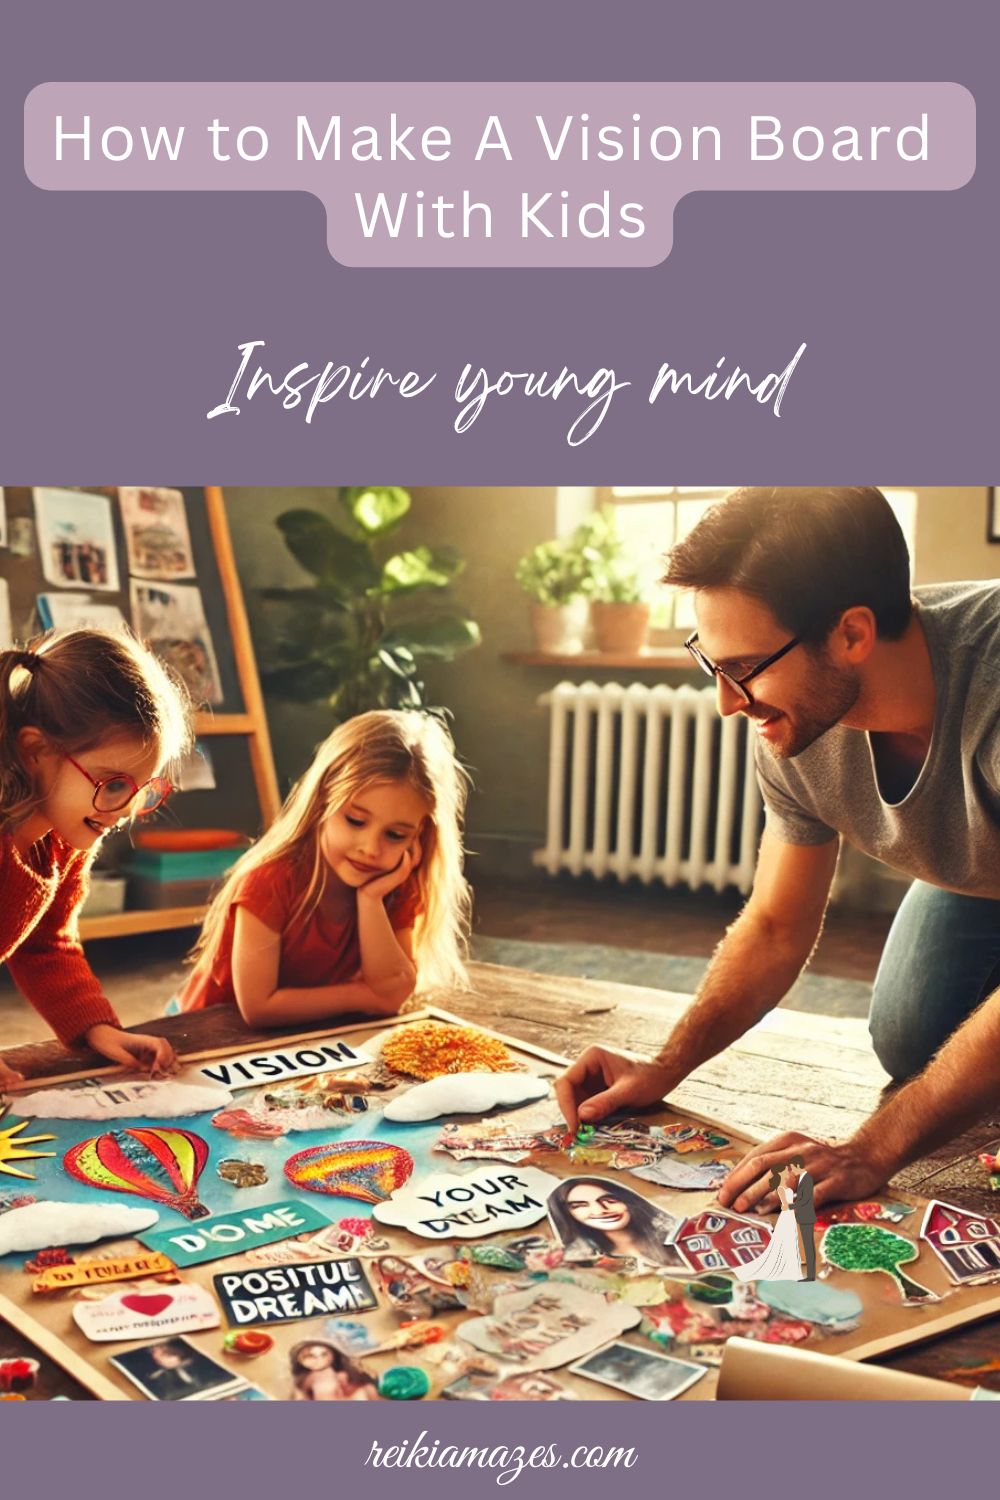
Making a vision board with kids isn’t just a fun craft project. It can also help everyone in the family dream big and set goals together. I’ve found that a creative group activity like this opens up conversations about hopes, dreams, and the things that matter most. When kids get involved, you add a whole new level of excitement and learning to the experience.
In this guide, I explain the steps on How To Make A Vision Board With Kids, to create a collaborative vision board that the whole family can enjoy. Even if you’re new to projects like this, the process is simple and engaging. With clear direction and a few basic supplies, you and your children will be on your way to making a board that stands for your shared future and creative expression.
I also encourage families to take extra time to chat about each idea as it comes up, because every discussion deepens your connection and helps everyone feel truly involved.
Step 1: Understand the Purpose of Making A Vision Board With Kids
Before jumping into the craft, it’s important to understand why making a vision board with kids can be so valuable. A vision board is a visual representation of goals and dreams. When you sit together as a family, you have the opportunity to share ideas about what you want to achieve, both as individuals and as a unit.
It helps children learn about setting aspirations and encourages creative thinking along the way. This time spent together can also boost family morale and promote active listening as each member speaks about their hopes for the future.
Defining Your Family Goals
I like to start by asking some simple questions. Ask your kids what they think is important for the family. It might be about improving habits like reading more, spending quality time together, or even planning fun adventures.
Creating a vision board can serve as a constant reminder of these shared goals and motivate everyone to work together. This conversation not only sparks creativity but also builds mutual respect and understanding, as each person’s viewpoint is recognized and celebrated.
Why Involve Your Kids?
When kids take part in creative projects, they learn to express their ideas visually. It’s also a very important lesson in teamwork. Everyone contributes their own unique perspective, and that diversity of ideas makes the vision board richer and more meaningful.
Kids feel empowered when they see their contributions valued and displayed proudly at home. Moreover, by working together, they pick up key communication skills and learn that every creative solution comes from a mix of ideas shared by the family. This process truly builds a sense of unity and gives everyone a chance to shine.
Step 2: Gather the Materials You’ll Need
Every project starts with getting the right tools. For your vision board, you don’t need expensive or complicated supplies. The main thing is to have a variety of materials that allow everyone to be creative. Make sure to involve your kids in gathering these supplies.
This not only builds anticipation but also teaches them to prepare and organize before beginning any project. When kids have a role in planning, the entire experience feels more collaborative and engaging.
Essential Supplies
- A sturdy board or large piece of cardboard as your base
- Magazines, newspapers, or printed images
- Scissors, glue, and tape
- Colored markers, crayons, or paints
- Stickers, decorative papers, or fabric scraps
These items are easy to find and inexpensive, making the project accessible to everyone. By working together to source and organize these materials, the family sets a cooperative tone from the start. This process also gives you a chance to talk about recycling and creative reuse, reinforcing both artistic and ecological values.
Optional Extras
You might also consider including additional craft items like buttons, ribbons, and small objects that can be glued to the board. The more varied the materials, the more fun and dynamic your vision board will become.
Adding these extras lets each family member put their unique twist on the project, creating a customized piece of art that reflects diverse personalities and interests. Extra items also provide opportunities for kids to experiment with textures and layering, which deepens their appreciation for art.
Step 3: Brainstorm Ideas Together
Once your materials are ready, set aside some time to brainstorm as a family. This stage is all about sparking creativity and ensuring that everyone’s voice is heard. Begin by sitting in a circle or around a large table so that each member feels included. Encourage everyone to share their thoughts freely and without judgment.
Discussion Points to Explore
- What are our hopes for the coming year?
- Are there any fun activities we want to try together?
- What are the qualities we want to emphasize, such as kindness, curiosity, or determination?
- What little goals do we each have for personal growth or learning?
This brainstorming session can be playful. I often encourage kids to draw or write down their ideas first. Later on, each person can share what they’ve written or sketched. Together, you can decide which images or words best represent your shared visions.
This simple dialogue builds confidence and lays the foundation for a board that genuinely reflects your family’s dreams. Adding extra time for discussion can lead to surprising insights.
In fact, sometimes a simple idea evolves into a more complex plan as different family members build upon it, resulting in a vision board that not only represents goals, but also the evolving nature of your collective dreams.
Consider setting up small breakout sessions during the brainstorming phase. For instance, parents might discuss long-term family goals while kids focus on immediate interests and fun ideas. Then, regroup and share what was discussed.
This structure ensures that everyone’s ideas receive thoughtful attention, making the overall process richer and more collaborative. Spending extra minutes on these discussions can turn a fun project into an invaluable learning adventure, as every idea shared sparks further creativity.
Creating a Safe and Fun Space
Ensure that every idea is welcome, no matter how small or outlandish it may seem. The goal is to stimulate creative thinking rather than worry about perfect outcomes. Let everyone know that it’s okay if ideas change along the way.
This open atmosphere motivates even the shyest family members to speak up. Celebrating even the wildest ideas helps in nurturing an environment where innovation thrives and each contribution feels truly important.
Step 4: Begin Assembling Your Vision Board
With your ideas in place, it’s time to start putting everything together. The assembly process is just as fun as the brainstorming session, and it lets everyone’s personality shine through.
Begin by spreading out all your collected images, words, and drawings on the board without glue. This method allows the family to experiment with placement and arrangement before making any permanent decisions.
Organizing Your Board
I recommend starting by laying out all your collected items on the board. This helps everyone visualize where each piece might go. You can experiment with different layouts, and sometimes even come up with new ideas just by seeing the images side by side.
Taking time to rearrange items also teaches kids about the importance of planning and reassessing their strategies as they work. This exploratory stage is vital for making sure that every family member feels integrated into the final design.
Collaborative Creativity
- Allow each child to choose their favorite images and words.
- Work together to decide on a layout that feels balanced.
- Take turns gluing items onto the board. This process reinforces teamwork and makes everyone feel involved.
- Encourage creative additions like doodles or small notes in the margins of the board.
The act of assembling the board can be a valuable learning experience. Kids come to understand that big ideas often emerge from the merging of many small contributions.
Observing how different pieces come together to form a complete picture helps them appreciate the importance of working as a team and the benefits of discussing and revising plans.
The process also encourages adaptability since family members might change their minds about the layout, and that flexibility is a key life skill.
Step 5: Display and Reflect on Your Vision Board
After your board is assembled, put it in a place where everyone can see it. Display the board in a common area so that it acts as a daily reminder of your family’s goals and aspirations.
The visual cue of the board keeps the team spirit alive and helps spark regular conversations about progress, challenges, and new ideas.
Making the Most of Your Display
I always encourage families to have a small seating area nearby where they can sit together, look at the board, and discuss the ideas it represents. This spot becomes a gathering point for discussing next steps or celebrating achievements.
The board should be more than just decoration. It acts as a creative motivational tool, reminding everyone that the ideas born out of joint effort can lead to meaningful changes in everyday life.
Reviewing Your Progress
Every few weeks, take a moment as a family to review what you’ve pasted onto the board. Some images might need updating, or new ideas may have emerged. Incorporating a monthly check-in ensures that the vision board remains a living piece of art rather than a static project that is completed and set aside.
Adding new images or swapping out outdated ones can turn the board into an ongoing conversation starter that evolves with your family’s goals. This reflective practice also nurtures a habit of goal setting and continuous improvement.
Troubleshooting and Answering Common Questions
It doesn’t always work perfectly the first time, so don’t worry if things feel a bit messy or unfinished. As you work through the process, remember that every family project encounters bumps along the way. Here are a few common issues and ideas on how to smooth things out.
What If the Kids Lose Interest?
Sometimes children might get distracted by other activities. Keeping the sessions short and fun is very important. Even a 10-minute brainstorming break can be enough to keep the energy flowing. If interest begins to dip, try introducing a new material or a simple game related to the vision board, such as guessing which image best fits a goal. These small adjustments can reignite enthusiasm and keep the creative momentum alive.
How Do I Handle Clashing Ideas?
It’s completely normal for family members to have different ideas. When opinions clash, consider taking a vote or finding overlapping themes between ideas. This not only helps in reaching consensus but also teaches kids the value of compromise and mutual respect. Through this process, everyone learns that combining differences can result in a richer, more vibrant final project. Each family member’s viewpoint contributes to a well-rounded vision that reflects diverse aspirations.
What If the Board Feels Too Crowded?
If the board feels overstuffed, consider creating smaller boards dedicated to different topics or goals. This approach helps you focus the vision and makes it easier to revisit specific aspirations without feeling overwhelmed.
Alternatively, you might rotate the items on display monthly to ensure that the most relevant goals always get a moment in the spotlight. The idea here is to keep the overall space dynamic and flexible, so there’s always room for new dreams to take center stage.
Another helpful strategy is to use sections on your board. This way, each family member can have a dedicated area to express their ideas, which can later be blended with the common space. Experimenting with sections not only makes the board look organized but also reinforces that every individual’s dreams are significant and deserve attention.
Recommended Read:
Ultimate Guide to Vision Boards: The Proven Science Behind Why It Actually Work
7 Steps to Create a Vision Board That Turns Dreams Into Reality
Top 5 Mistakes To Avoid When Building Your Vision Board
10 Must-Have Tools for a Powerful Vision Board (Beginner’s Guide!)
Struggling to Manifest? These 5 Goal-Setting Hacks Will Fix Your Vision Board!
Your Vision Board is Missing THIS! 5 Mindfulness Tips for Manifestation Magic
Vision Boards & Science: 5 Shocking Truths That Prove They Work!
Eco-Friendly Vision Boards: A Green Approach to Manifestation
9 little-known manifestation secrets to supercharge your vision board
Vision Board Affirmations 101: How to Turn Words Into Manifestations
Final Thoughts and Your Action Plan
A vision board with kids isn’t just a beautiful piece of art hanging on the wall. It is a symbol of family unity and shared dreams. The project builds valuable skills ranging from planning and organization to creativity and teamwork. I’ve seen how a simple board can inspire everyone to think bigger and work together to achieve their dreams. The process is a continuous ride of learning, sharing, and growing together.
Your Next Steps
- Set a day for your family vision board project and gather everyone’s ideas.
- Collect supplies and allow each family member to select images and words that speak to them.
- Work together to assemble a layout that feels fun and balanced. Don’t worry about making it perfect. Focus on celebrating each person’s voice and the creative energy present in your home.
- Display the board in a common area and refer back to it as a source of inspiration for new goals.
When you look back at the board a few months down the road, it will serve as a reminder of the dreams you all had at one point in time, and it might even spark new projects or ideas together.
Take time to add, revise, and enjoy the vision board as an evolving piece of family history. Each update is an opportunity to reflect on progress and celebrate the journey, ensuring that the board remains as dynamic as the dreams it represents. The entire process is a celebration of collaboration, creativity, and the ongoing adventure that is family life.
Remember, creating your family vision board is not just about sticking images to a board. It is about setting aside time to share your dreams, fostering communication, and building a future together.
As you work on your board, take moments to pause and appreciate the creativity and joy that each member contributes. Over time, the board becomes a testimony to your shared commitment, a living reminder of what can be achieved when everyone pitches in.
Bottom line, this project can have a lasting impact far beyond the craft table—it can shape and nurture the bonds of your family for years to come.
You may also like


You may also like
 You’ve probably heard the debate—Do you really need to take action for manifesta...
 What if simply writing about your dreams could help them come true? It might sou...
 Have you ever daydreamed about your dream home, career, or love life? What if I ...
 Think affirmations are just feel-good phrases? Think again! Science shows they c...
 Have you ever created a vision board, filled it with inspiring images, and then ...
 Have you ever looked at your vision board and felt… overwhelmed? Instead of feel...